Use this guide as a working method, not a list of tricks. Read one section, apply it to a real activity, and keep the evidence that shows why each move works.
The short answer
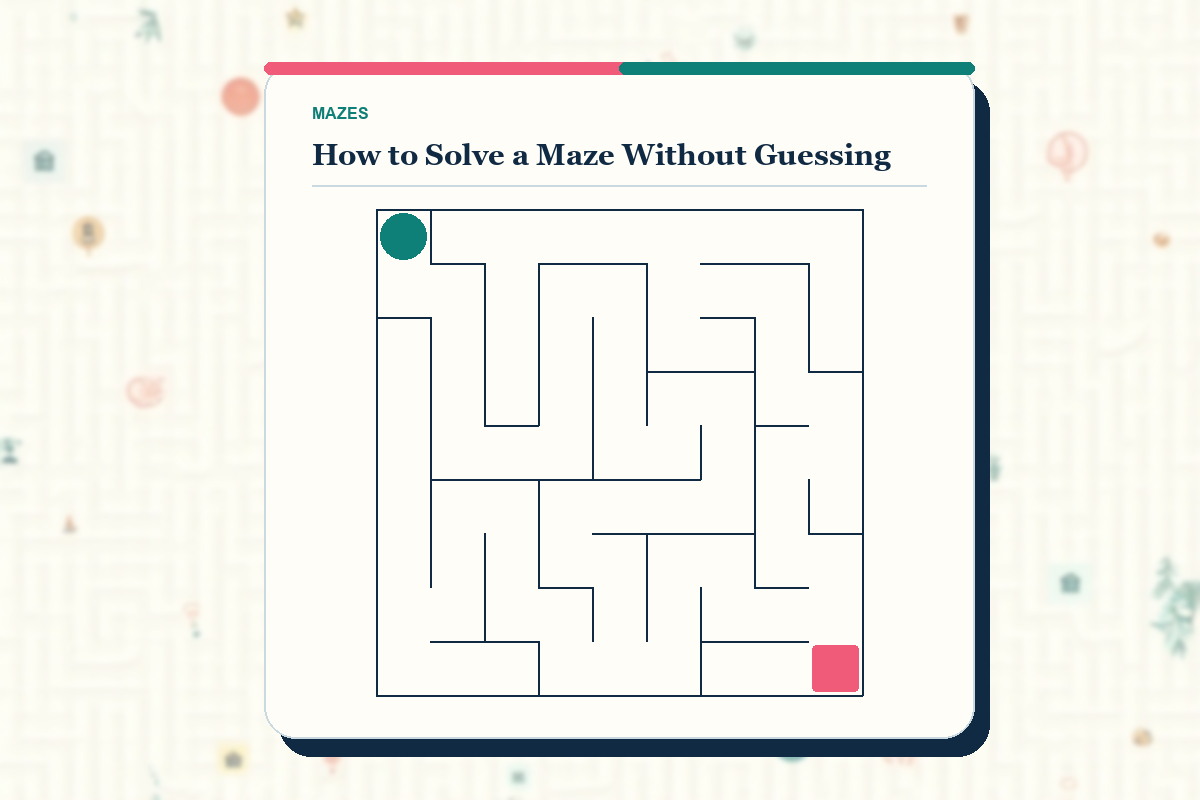
The practical answer to how to solve a maze is to use one clear method, keep a record of what has already been checked, and make the next selection from evidence on the page. For children, adults and anyone who gets lost in dense mazes, the main objective is to treat the maze as connected choices rather than a picture to wander through. That is more reliable than moving faster, copying someone else's decision or opening the answer material as soon as the exercise becomes uncertain.
A good round starts with a clear start and finish, a traceable route and a way to mark explored dead ends. Those details sound ordinary, but they decide whether the learner can see the information, reverse a mistake and understand the next step. The challenge should feel demanding because of its intended thinking skill, not because the page is cramped, the instructions are hidden or the controls are difficult to operate.
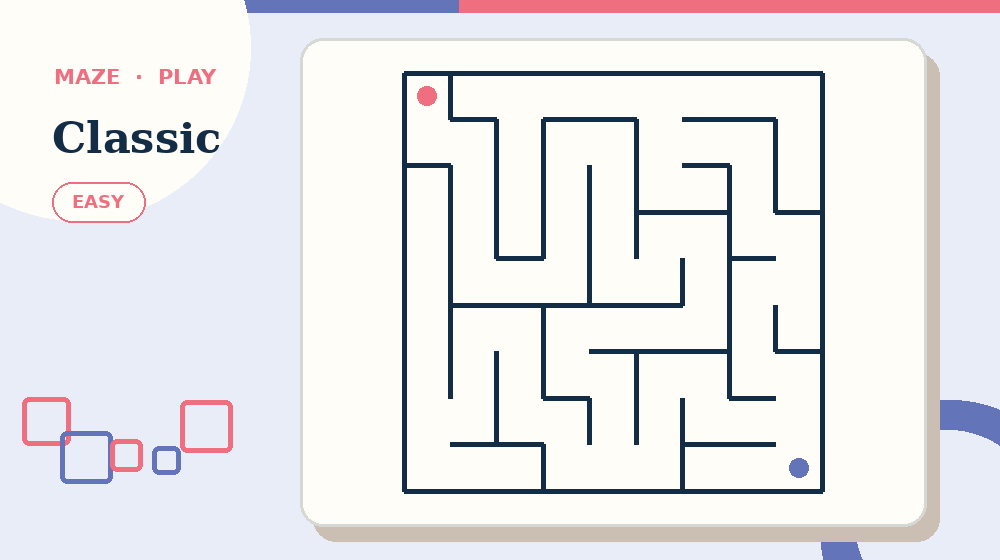
Start with Easy Maze when you want to test the setup on a complete activity rather than an isolated example.
Use the method in this article on one complete mazes exercise before collecting extra tips. Consistently applying a small set of habits produces a clearer improvement than applying a long list at random. When the challenge is complete, explain which clue or observation justified the final moves; that explanation is the best check that the method can be used again.
Understand what the activity is asking
Before starting, describe the task in one sentence without relying on its theme or decoration. For how to solve a maze without guessing, the action is to treat the maze as connected choices rather than a picture to wander through. Naming that action keeps attention on the skill the page is meant to practise instead of on whichever detail happens to look most noticeable.
Next, find what counts as evidence in this format: open passages, closed walls, junctions already tested and a continuous route from the entrance toward the goal. A choice that merely looks promising is not equivalent to one supported by the exercise. Teaching that distinction helps a beginner pause without feeling stuck and helps an experienced learner catch a careless assumption before it spreads.
Define completion before the first mark. Here, completion means that one continuous route reaches the goal without crossing a wall or jumping between disconnected passages. A clear endpoint makes progress easier to judge and stops the exercise from ending only because time or attention has run out.
Set up before you begin
Prepare a clear start and finish, a traceable route and a way to mark explored dead ends. Put the challenge on a stable surface and remove unrelated sheets from the immediate workspace. On screen, use a comfortable zoom and make sure the main controls remain clear. On paper, keep an eraser or a second marking color available so tentative thinking does not become indistinguishable from a confirmed answer.
Read the title, instructions, legend and any word bank or clue list before making the first mark. This preview is not wasted time. It reveals the size of the task, the notation used by the author and any special constraint that changes the obvious solving approach. It also gives the learner a chance to ask about unfamiliar vocabulary before that vocabulary is confused with challenge difficulty.
Choose a simple recording convention. Confirmed work should look different from a possibility, a tested branch or a discarded answer. Consistent marks narrow working-memory load because the page remembers earlier choices. For group play, agree on the same convention aloud so one person's mark is meaningful to everyone else.
- Keep the full challenge and its instructions clear.
- Use reversible marks for uncertain work.
- Separate the learner sheet from the answer material.
- Agree what a finished and checked result looks like.
A step-by-step method
Step 1: preview the start, finish and large blocked regions. Treat this as an observable action rather than a vague reminder to concentrate. Name the clue, line, cell, card or option you are using and state what it rules out. When nothing is found, preserve that result instead of immediately repeating the same search from a different starting point.
Step 2: choose either wall following or junction tracking. Keep the scope of this step narrow enough that it can be finished and checked. Work from one edge, unit, clue group or caller record to the other, then mark the pass as complete. Order matters because it prevents attractive details from pulling attention back to places already reviewed.
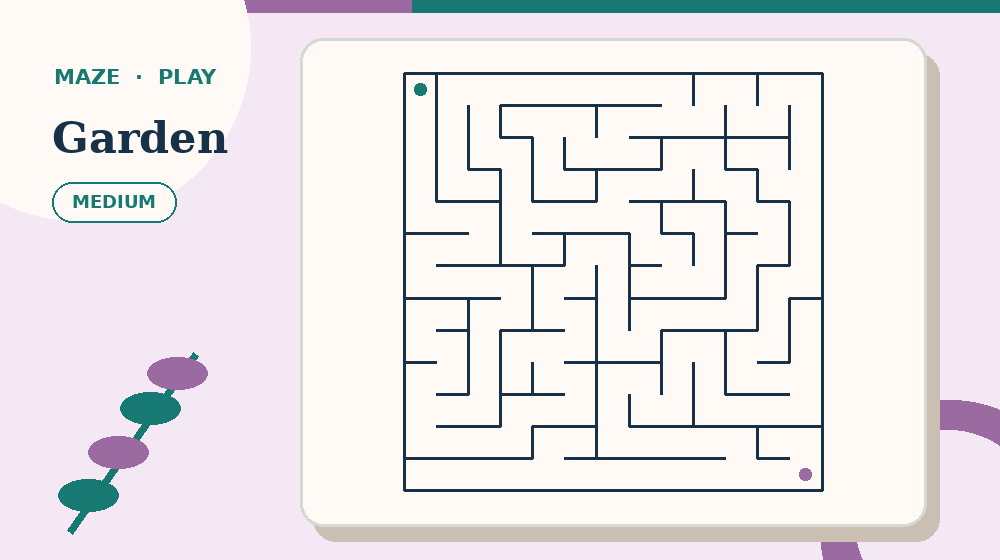
Apply these first two decisions in Garden Maze; leave the page open beside this section and return only when you can explain the evidence for the next step.
Step 3: mark each dead end when you return from it. Keep the scope of this step narrow enough that it can be finished and checked. Work from one edge, unit, clue group or caller record to the other, then mark the pass as complete. Order matters because it prevents attractive details from pulling attention back to places already reviewed.
Step 4: look ahead to the next junction before moving. Keep the scope of this step narrow enough that it can be finished and checked. Work from one edge, unit, clue group or caller record to the other, then mark the pass as complete. Order matters because it prevents attractive details from pulling attention back to places already reviewed.
Step 5: verify the route from start to finish after solving. Use this step to create information for the following selection. Review the result with the stated constraint before writing permanently, and correct the smallest possible area if they disagree. The method should leave a clear trail that makes resuming or explaining the challenge straightforward.
A worked practice example
Consider this example: solving a garden maze by numbering three early junctions and crossing out each branch only after it returns to a dead end. Restate the exact target and find the information already supplied by the page before making a permanent mark. Point to the first useful constraint and name the alternatives it removes. That creates a short chain of reasoning another person can follow and challenge.
Use the first two steps in order. First, preview the start, finish and large blocked regions. Next, choose either wall following or junction tracking. If the evidence conflicts with an early hunch, keep the evidence and discard the hunch. The aim is a result that survives every relevant check, not a defence of the first idea that came to mind.
For the third step, mark each dead end when you return from it. Pause and inspect the surrounding information instead of staring only at the current detail. Many errors start when a locally attractive choice hides a condition elsewhere on the page. One wider check is faster than repairing several dependent choices later.
Finish with the verification that belongs to this format: trace the chosen route continuously from start to finish and stop at every turn to validate no wall is crossed. This final pass turns a plausible result into a completed exercise and gives the learner a precise place to look if something does not agree.
How to adjust the difficulty
Change one variable at a time. For this format, the variables that genuinely affect difficulty are maze dimensions, branch count, dead-end depth, route length, line weight and the visibility of start and finish. If several change together, it becomes difficult to know which one made the exercise more accessible or more demanding.
For a gentler version, keep the same theme but narrow the number of competing possibilities. Concentrate on one action: preview the start, finish and large blocked regions. Use generous spacing, a shorter set or a partly completed example. Support should expose the reasoning while leaving the next selection to the learner.
For a stronger challenge, preserve the same basic requirements and ask for this action without prompting: look ahead to the next junction before moving. Add complexity only after the learner can explain the easier method. Productive difficulty creates more meaningful choices; poor difficulty merely adds tiny print, ambiguous wording or hidden instructions.
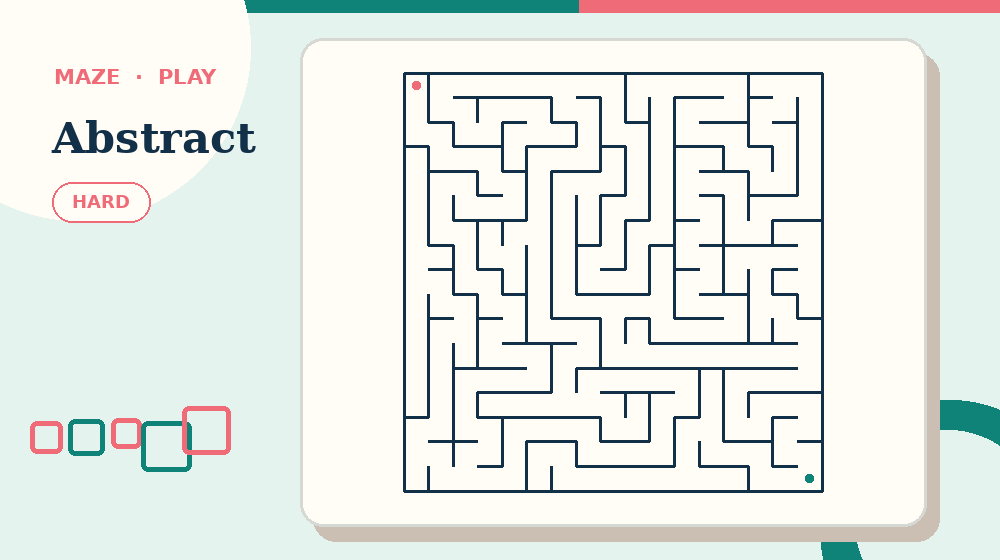
To compare the change at a nearby level, open Hard Maze and change one difficulty variable instead of changing the whole routine at once.
Watch behavior instead of relying only on the final score. Repeated random marks, long periods without a plan or refusal to check work signal that the level may be too high or the method unclear. Fast completion with no explanation may signal that the level is too low. Adjust the next challenge, not the learner's confidence.
Common mistakes and what to do instead
Avoid changing strategies halfway through. A good recovery is smaller than a restart. Review the questionable choice with the instructions and shared record, explain exactly why it fails, then correct that one branch. Keeping the rest of the valid work protects both confidence and useful information.
Avoid drawing a thick line that hides walls. When this happens in a group, describe the mismatch without blaming the person who made the decision. Reconstruct the evidence together, agree on the earliest reliable state, and resume with one participant acting while another verifies the governing constraint.
Avoid skipping over a narrow wall. Prevent it by adding a short checkpoint before permanent marks. Ask what fact makes the choice legal and what would disprove it. If neither question has an answer, leave the choice open and gather another clue instead of forcing progress.
Avoid forgetting which branch was tested. This often appears when speed replaces verification. Do not erase the whole page. Isolate the row, route, clue, card or turn where support disappeared, remove the unsupported mark, and recheck the neighboring information that depended on it.
Avoid assuming the path nearest the finish must connect. A good recovery is smaller than a restart. Review the questionable choice with the instructions and shared record, explain exactly why it fails, then correct that one branch. Keeping the rest of the valid work protects both confidence and useful information.
Build a checklist for How to Solve a Maze Without Guessing
Turn the method into a short checklist that can sit beside the exercise. Write the target first: treat the maze as connected choices rather than a picture to wander through. Under that line, record the evidence that belongs to this format—open passages, closed walls, junctions already tested and a continuous route from the entrance toward the goal. This prevents a checklist from becoming a generic reminder to 'be careful'; every item should point to something the learner can actually see, say or verify.
Make the first checkpoint specific: preview the start, finish and large blocked regions. The second checkpoint is different: choose either wall following or junction tracking. Keep both as complete actions rather than reducing them to one-word labels. A learner returning after a pause should be able to read either line and know exactly what to inspect next without reconstructing the whole article.
Use the middle of the checklist for the choices most likely to be skipped: mark each dead end when you return from it. Follow that with look ahead to the next junction before moving. Put a small box beside each action, but tick it only after the action is complete. The boxes are a record of work already performed, not a score and not a substitute for explaining why the result is valid.
Add one recovery note based on the most relevant errors: avoid changing strategies halfway through, and watch for drawing a thick line that hides walls. If either appears, return to the most recent confirmed evidence instead of restarting the complete exercise. Finish the checklist with the final action—verify the route from start to finish after solving—and the format check: trace the chosen route continuously from start to finish and stop at every turn to validate no wall is crossed.
Test the checklist against the worked situation rather than reading it in the abstract: solving a garden maze by numbering three early junctions and crossing out each branch only after it returns to a dead end. Cover the article, follow the written checkpoints and notice where the checklist leaves you unsure. Rewrite that line with the missing object, location or stopping condition. A useful checklist becomes shorter as its actions become more precise; it does not become a second copy of the tutorial.
Store the checklist with a clear start and finish, a traceable route and a way to mark explored dead ends. On the next attempt, use it only at the beginning, after a contradiction and during final verification. If the learner can carry out verify the route from start to finish after solving without looking back at the article, the checklist is supporting independent work. If it repeatedly leads to skipping over a narrow wall, revise the wording before increasing the difficulty.
Before sharing the checklist, run one final failure test. Ask whether it prevents forgetting which branch was tested and whether a new learner could still fall into assuming the path nearest the finish must connect. Add one concrete warning only when it changes an action; vague cautions create visual noise. The finished checklist should explain what to do, what evidence confirms it and when to stop, correct or continue.
- Target: treat the maze as connected choices rather than a picture to wander through.
- First action: preview the start, finish and large blocked regions.
- Independent check: look ahead to the next junction before moving.
- Final verification: trace the chosen route continuously from start to finish and stop at every turn to validate no wall is crossed.
Teaching, family and group use
When using this article with children, adults and anyone who gets lost in dense mazes, model one complete selection rather than completing the whole exercise. Say what you notice, what you can eliminate and why the remaining step is justified. Then hand control back. The learner needs to practise choosing the evidence, not merely watch a polished solution.
Use questions that reveal process: What have you checked? Which constraint applies here? What would make this answer impossible? Where will you look next? These prompts are more useful than asking whether the learner is sure. They allow help without converting the exercise into a sequence of hints supplied by the adult or host.
If the learner needs another explanation of the same format, continue with Maze Strategies for Kids before supplying an answer.
In pairs, assign roles that rotate. One person can point or mark while the other checks the constraint, clue list or caller record. Switch after a small milestone. This prevents one confident participant from taking every decision and gives both people a concrete responsibility.
End with a one-minute reflection. Ask which solving approach found the most information, where the first error appeared and what the learner will do first on the next exercise. Keep the reflection specific to observable actions. General praise feels pleasant; specific feedback makes the skill portable.
A focused 15-minute practice routine
Minute 0–2: preview the page, read the requirements and choose the recording convention. Name the method you will practise. This short setup keeps the round from becoming an unstructured race and makes later reflection possible.
Minute 2–7: carry out two actions in order. First, preview the start, finish and large blocked regions. Next, choose either wall following or junction tracking. Do not measure speed yet. Put a small neutral mark beside any selection that remains uncertain, then continue with information that can be confirmed.
Minute 7–12: decision to the harder area. Use this check: mark each dead end when you return from it. Then apply this follow-up: look ahead to the next junction before moving. If the exercise is complete, verify it instead of opening another page immediately. If it is unfinished, stop at a clear point and summarize what remains so the round can resume without repeating work.
Minute 12–15: check the answer material only after recording a final result or a specific unresolved question. Review methods, not just answers. Choose the next challenge at the same level if the reasoning was inconsistent, or one neighboring level harder if the method felt controlled.
Print, screen and accessibility choices
Use the original PDF for printing because it preserves the intended grid proportions and line weight. Print one proof at actual size before a batch. On a narrow A4 printer, inspect the preview carefully rather than accepting automatic shrinkage. Keep answer pages out of participant sets unless self-checking is part of the exercise.
On screen, increase browser zoom until text is comfortable, then validate that controls remain reachable and the challenge itself still fits the available space. Use keyboard, touch or mouse according to the learner's motor comfort. Reduced motion should not remove status messages or progress information.
For visual tracking, use strong light without glare and introduce a ruler edge, reading strip or focus mode when the page becomes difficult to follow. Preserve the evidence that matters for this format—open passages, closed walls, junctions already tested and a continuous route from the entrance toward the goal—at a comfortable size and contrast. Accessibility changes how information is presented; it does not need to remove the reasoning that makes the exercise satisfying.
How to know the method is working
The clearest sign of improvement is not a single fast time. Look for fewer unsupported moves, cleaner corrections, more complete scans and explanations that refer to the actual requirements. A learner who can recover from an error has learned more than a learner who happened to guess the right branch.
Repeat a similar mazes exercise within a day or two and start without rereading the whole article. If the learner independently uses at least two of the method steps, the routine is becoming available from memory. If not, shorten the next round and practise one step in isolation.
Keep a tiny practice record with the challenge title, level, time spent, solving approach used and one sentence about the hardest selection. Do not turn the record into a public ranking. Its purpose is to choose the next useful exercise and to make gradual progress clear.
Test the skill on a fresh puzzle
Use one of the fresh mazes practice pages linked in this article rather than repeating the worked example. Before starting, write down two actions: preview the start, finish and large blocked regions. Then, choose either wall following or junction tracking. Put the article aside and try to recognise the right moment for each action without copying the demonstration wording.
After the second page, review one successful selection with one moment of uncertainty. Ask whether this step supplied enough evidence—mark each dead end when you return from it—and whether the learner avoided this common error: changing strategies halfway through. Record one specific adjustment for the next attempt. That comparison turns how to solve a maze into a transferable skill instead of a one-page performance.
Frequently asked questions
What is the best first step for how to solve a maze?
Preview the complete exercise, then make the first action explicit: preview the start, finish and large blocked regions. This gives you an ordered starting point and reduces the temptation to make a random mark before the requirements and available information are clear.
Should I use a timer?
Use a timer only after the method is accurate. A quiet elapsed-time display can help review your own sessions, but a countdown often encourages guesses, incomplete checking and avoidable motor errors. For children and new learners, finish one logical milestone instead of racing a clock.
When should I look at the answer?
Look after you have a complete result or a precisely stated point of uncertainty. First record what you tried and which constraint stopped progress. Then review the relevant part of the answer material. This makes checking a learning step rather than a substitute for solving.
How do I make a mazes exercise easier without giving away the answer?
Narrow one source of complexity and keep the core constraint. You might provide larger print, fewer choices or a shorter set, then demonstrate one action: choose either wall following or junction tracking. Ask the learner to make the next selection independently.
How often should I practise?
Two or three focused sessions each week are enough for most recreational solvers. Stop while the learner can still explain the method. Short, repeated practice with a nearby difficulty is more useful than one long round that ends in fatigue and random guessing.
Can this method be used on paper and online?
Yes. The reasoning is the same. Online controls can save progress and provide reversible input, while paper makes annotations and group discussion easy. Choose the format that keeps the challenge readable and lets the learner distinguish tentative work from confirmed answers.