Use this guide as a working method, not a list of tricks. Read one section, apply it to a real activity, and keep the evidence that shows why each move works.
The short answer
The central task in How to Make a Coloring Page: Clean Line Art That Is Easy to Color is to turn an original drawing, photo reference or simple concept into clean black-and-white line art with readable boundaries, useful spaces to color and a level of detail that matches the intended audience. Begin here: choose one clear main subject and crop away background clutter before tracing, because a coloring page needs a readable silhouette more than it needs every detail from the source image. Continue only after that action produces a result you can point to, describe or record.
For how to make a coloring page, prepare one original or licensed reference image, a drawing or vector tool, a black-and-white working layer, the target paper size and one test print made before the page is shared. Treat one enclosed region, its boundary line and its relationship to foreground or background as the working unit. That boundary keeps one uncertain decision from spreading into unrelated parts of the activity.
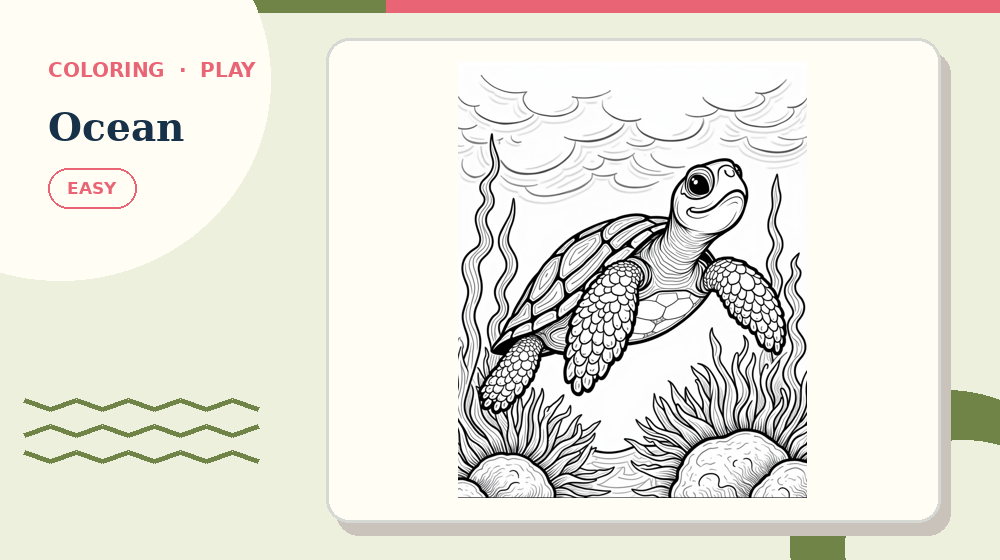
Before continuing, open Ocean Friends and practise this first move: choose one clear main subject and crop away background clutter before tracing, because a coloring page needs a readable silhouette more than it needs every detail from the source image. The complete activity makes the setup advice above easier to judge than an isolated example.
Complete the attempt with this action: print the page at its intended size and color a small section yourself, checking that lines remain crisp, spaces are large enough for the chosen tools and no important shape disappears at the page edge. Then verify the result by checking that inspect the page from edge to edge for missed regions, smudges and outlines obscured by heavy material. A fast finish without that check is not a dependable solution.
Understand the exact job of this activity
In How to Make a Coloring Page: Clean Line Art That Is Easy to Color, success means you can turn an original drawing, photo reference or simple concept into clean black-and-white line art with readable boundaries, useful spaces to color and a level of detail that matches the intended audience. The relevant evidence is the printed outlines, enclosed regions, foreground and background boundaries and the chosen material's coverage. Decoration, familiarity with the theme and confidence are not evidence by themselves.
Use one enclosed region, its boundary line and its relationship to foreground or background to keep the decision local. Start by doing this: choose one clear main subject and crop away background clutter before tracing, because a coloring page needs a readable silhouette more than it needs every detail from the source image. If you cannot name what changed, do not add another permanent answer or mark.
Measure progress by this standard: count completed scene areas and clean edges, not how quickly the page becomes saturated. When progress stops, return to this method: remove shading, texture, smudges and unnecessary sketch marks so the page stays true black and white instead of turning gray areas into accidental instructions. State the reason for changing approach before you make the next move.
Prepare the materials and the decision record
For How to Make a Coloring Page: Clean Line Art That Is Easy to Color, lay out one original or licensed reference image, a drawing or vector tool, a black-and-white working layer, the target paper size and one test print made before the page is shared. Keep any answer material closed or out of reach until the attempt has a complete result or a precisely stated question.
On paper, place a protective sheet underneath and match pencils, crayons or markers to the paper weight. On screen, use the downloadable line art as the master and save a separate palette plan rather than altering it. Check the real input method before starting so a print, zoom or touch problem is not mistaken for puzzle difficulty.
Record uncertain work this way: test a palette on scrap paper and build coverage in light layers so outlines remain visible. If parents, teachers, artists, activity creators and anyone making printable coloring sheets for children or adults pause and return later, the record should show what is confirmed, what is provisional and what was rejected.
- Goal: turn an original drawing, photo reference or simple concept into clean black-and-white line art with readable boundaries, useful spaces to color and a level of detail that matches the intended audience.
- First action: choose one clear main subject and crop away background clutter before tracing, because a coloring page needs a readable silhouette more than it needs every detail from the source image.
- Working unit: one enclosed region, its boundary line and its relationship to foreground or background.
- Final check: inspect the page from edge to edge for missed regions, smudges and outlines obscured by heavy material.
A step-by-step method
Step 1 - Choose one clear main subject and crop away background clutter before tracing, because a coloring page needs a readable silhouette more than it needs every detail from the source image. For How to Make a Coloring Page: Clean Line Art That Is Easy to Color, this opening action defines what deserves attention before any answer is committed.
Step 2 - Build the outer contour first with strong continuous lines, then add only the interior boundaries that create meaningful areas for the user to color. Record the result using this rule: test a palette on scrap paper and build coverage in light layers so outlines remain visible. Do not rely on memory when the activity may be paused or corrected.
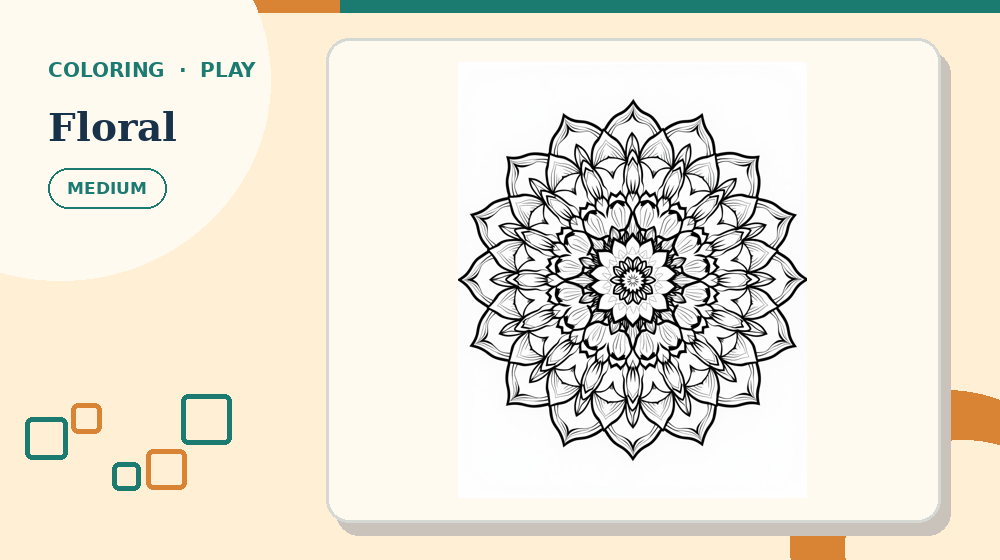
Use Floral Mandala for the next pass. Try to build the outer contour first with strong continuous lines, then add only the interior boundaries that create meaningful areas for the user to color without opening the answer material, then return here and name the evidence that supported the decision.
Step 3 - Remove shading, texture, smudges and unnecessary sketch marks so the page stays true black and white instead of turning gray areas into accidental instructions. Compare the new evidence with the printed outlines, enclosed regions, foreground and background boundaries and the chosen material's coverage. If they conflict, resolve the conflict before continuing.
Step 4 - Adjust complexity for the audience by using larger closed shapes and fewer internal lines for younger colorists while allowing smaller repeated details for experienced adults. Use this pass on the hardest unresolved part, not automatically on the most visually prominent area.
Step 5 - Print the page at its intended size and color a small section yourself, checking that lines remain crisp, spaces are large enough for the chosen tools and no important shape disappears at the page edge. Finish by checking that inspect the page from edge to edge for missed regions, smudges and outlines obscured by heavy material. Record any remaining uncertainty instead of disguising it as completion.
A worked practice example
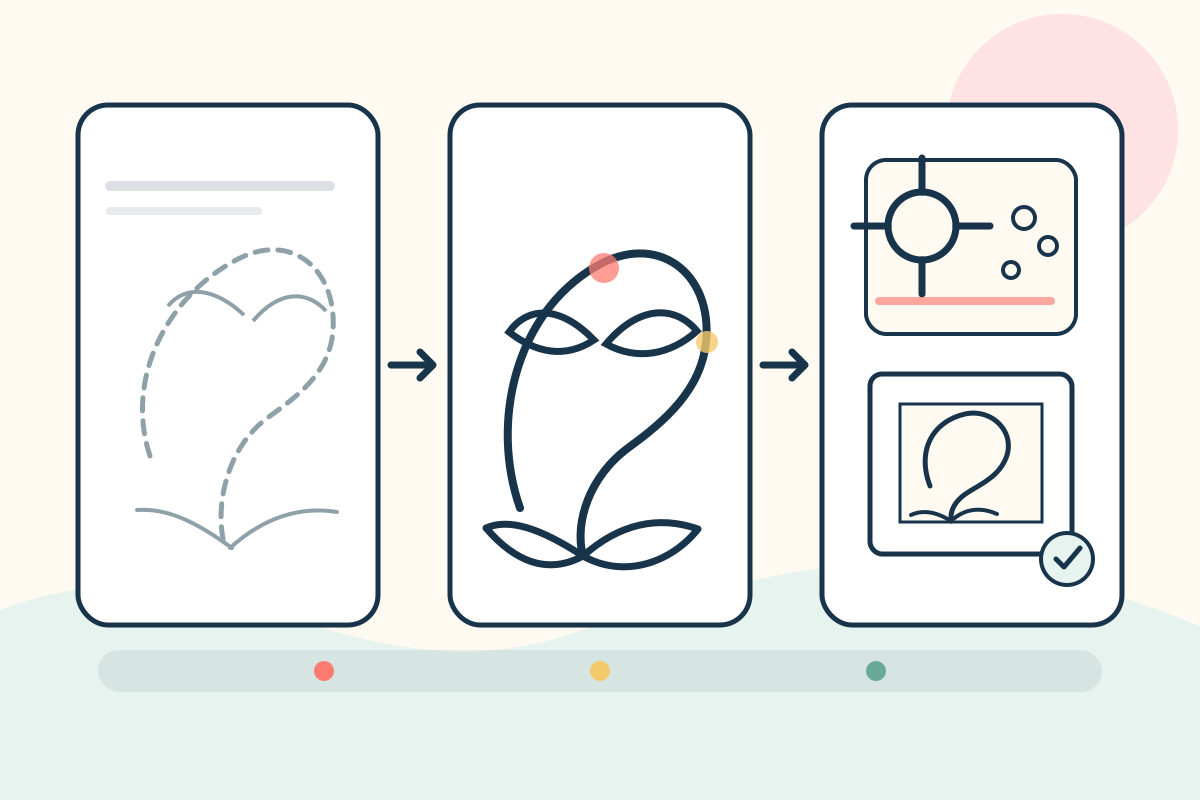
Use this concrete case for How to Make a Coloring Page: Clean Line Art That Is Easy to Color: turning a simple flower drawing into a printable page by keeping the petal and stem contours, removing pencil shading and background texture, closing the main color regions, then printing one copy to confirm that the narrowest leaves are still comfortable to color. Before acting, identify which part of the example supplies the printed outlines, enclosed regions, foreground and background boundaries and the chosen material's coverage.
Apply the first two methods in order: choose one clear main subject and crop away background clutter before tracing, because a coloring page needs a readable silhouette more than it needs every detail from the source image; then build the outer contour first with strong continuous lines, then add only the interior boundaries that create meaningful areas for the user to color. Write down the result of each pass so the example can be resumed without repeating the same scan.
Continue with this discriminating action: remove shading, texture, smudges and unnecessary sketch marks so the page stays true black and white instead of turning gray areas into accidental instructions. If it changes the working record, follow with adjust complexity for the audience by using larger closed shapes and fewer internal lines for younger colorists while allowing smaller repeated details for experienced adults. Finish only after you print the page at its intended size and color a small section yourself, checking that lines remain crisp, spaces are large enough for the chosen tools and no important shape disappears at the page edge and confirm that inspect the page from edge to edge for missed regions, smudges and outlines obscured by heavy material.
Decision log for the worked example
For the How to Make a Coloring Page: Clean Line Art That Is Easy to Color example, log the first observation created by this action: choose one clear main subject and crop away background clutter before tracing, because a coloring page needs a readable silhouette more than it needs every detail from the source image. Write the observation itself, not a vague note that the step was completed.
Next, record what changed after you remove shading, texture, smudges and unnecessary sketch marks so the page stays true black and white instead of turning gray areas into accidental instructions. If nothing changed, keep that result; an explicit no-change result prevents the same unproductive pass from being repeated.
Close the log with the final check: inspect the page from edge to edge for missed regions, smudges and outlines obscured by heavy material. If the check fails, identify the earliest unsupported decision and connect it to one risk: tracing every visible detail from a photograph until the page becomes a dense web of lines.
Diagnostic questions for How to Make a Coloring Page: Clean Line Art That Is Easy to Color
Can you explain why choose one clear main subject and crop away background clutter before tracing, because a coloring page needs a readable silhouette more than it needs every detail from the source image is the correct opening for how to make a coloring page? If not, restate the goal - turn an original drawing, photo reference or simple concept into clean black-and-white line art with readable boundaries, useful spaces to color and a level of detail that matches the intended audience - before making another mark.
Does the current record follow this rule: test a palette on scrap paper and build coverage in light layers so outlines remain visible? If not, separate confirmed work from possibilities before the next method.
Which evidence supports the current decision: the printed outlines, enclosed regions, foreground and background boundaries and the chosen material's coverage? Remove any answer supported only by familiarity or appearance.
Have you checked for this specific failure: leaving open gaps in boundaries that make separate coloring regions visually ambiguous? Repair that issue locally instead of restarting unrelated work.
Can the final result pass this test: inspect the page from edge to edge for missed regions, smudges and outlines obscured by heavy material? If not, leave the activity marked as unfinished and record the exact failing unit.
Adjust difficulty without changing the core skill
For an easier coloring pages activity, reduce region size, line density, subject complexity, material control, page size and the amount of background detail while preserving the goal to turn an original drawing, photo reference or simple concept into clean black-and-white line art with readable boundaries, useful spaces to color and a level of detail that matches the intended audience. Keep the same opening method: choose one clear main subject and crop away background clutter before tracing, because a coloring page needs a readable silhouette more than it needs every detail from the source image.
For a harder how to make a coloring page task, add one source of complexity at a time. Continue to require this evidence: the printed outlines, enclosed regions, foreground and background boundaries and the chosen material's coverage. More decoration, smaller print or longer instructions do not create useful difficulty.
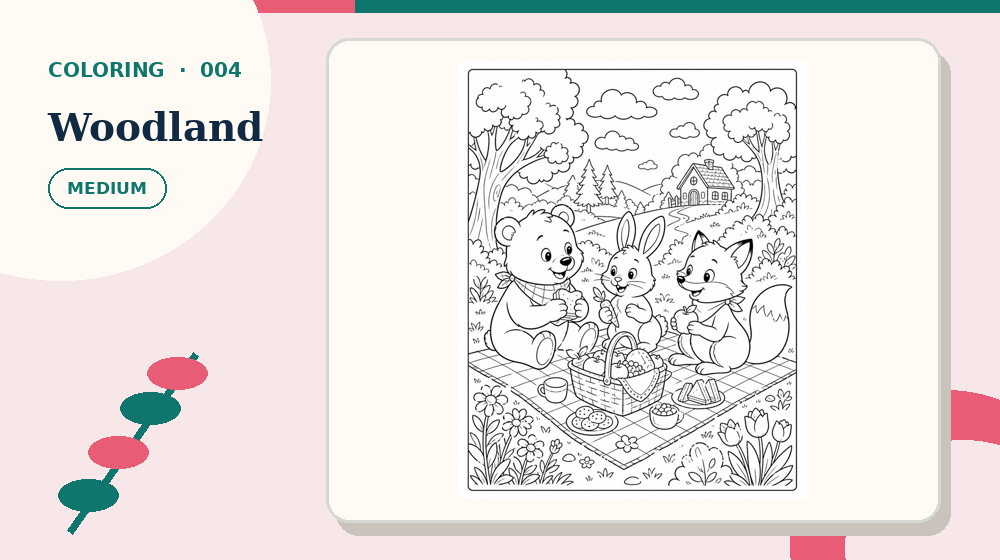
Now compare the method on Woodland Friends Picnic. Keep the goal—turn an original drawing, photo reference or simple concept into clean black-and-white line art with readable boundaries, useful spaces to color and a level of detail that matches the intended audience—but change only the difficulty or theme, so the comparison shows whether the routine transfers.
For parents, teachers, artists, activity creators and anyone making printable coloring sheets for children or adults, adjust the amount of material, available time or input method before removing the reasoning step. Assistance should make the evidence reachable without supplying the result.
Common mistakes and precise recovery actions
Watch for this first failure in How to Make a Coloring Page: Clean Line Art That Is Easy to Color: tracing every visible detail from a photograph until the page becomes a dense web of lines. Stop, restore one enclosed region, its boundary line and its relationship to foreground or background and repeat this action: choose one clear main subject and crop away background clutter before tracing, because a coloring page needs a readable silhouette more than it needs every detail from the source image.
A second risk is leaving open gaps in boundaries that make separate coloring regions visually ambiguous. Compare the current work with the printed outlines, enclosed regions, foreground and background boundaries and the chosen material's coverage; keep only decisions that the evidence supports.
If you notice using light gray shading or gradients that reproduce poorly on ordinary printers, return to this method: remove shading, texture, smudges and unnecessary sketch marks so the page stays true black and white instead of turning gray areas into accidental instructions. Record the corrected result before touching any later answer.
When making the design more detailed without considering the age, motor control or coloring tools of the intended user occurs, use this recovery procedure: stop before the wet or heavy area spreads, blot or let it dry, then test the material on scrap paper before repairing the affected region. Continue only when the progress measure changes for a stated reason.
Prevent the final failure - sharing the digital preview without checking margins, line weight and readability on an actual Letter or A4 print - by completing this action: print the page at its intended size and color a small section yourself, checking that lines remain crisp, spaces are large enough for the chosen tools and no important shape disappears at the page edge. Then run the verification for how to make a coloring page: inspect the page from edge to edge for missed regions, smudges and outlines obscured by heavy material.
Build a checklist for How to Make a Coloring Page: Clean Line Art That Is Easy to Color
Write the How to Make a Coloring Page: Clean Line Art That Is Easy to Color goal first: turn an original drawing, photo reference or simple concept into clean black-and-white line art with readable boundaries, useful spaces to color and a level of detail that matches the intended audience. Under it, copy this opening action: choose one clear main subject and crop away background clutter before tracing, because a coloring page needs a readable silhouette more than it needs every detail from the source image. Leave space for the result, not merely a tick box.
Add the second and third checks in order: build the outer contour first with strong continuous lines, then add only the interior boundaries that create meaningful areas for the user to color; then remove shading, texture, smudges and unnecessary sketch marks so the page stays true black and white instead of turning gray areas into accidental instructions. Beside both, print the record rule: test a palette on scrap paper and build coverage in light layers so outlines remain visible.
Reserve a separate line for the hard-area pass: adjust complexity for the audience by using larger closed shapes and fewer internal lines for younger colorists while allowing smaller repeated details for experienced adults. Name the exact unit inspected so a later correction does not erase unrelated progress.
End the checklist with this action: print the page at its intended size and color a small section yourself, checking that lines remain crisp, spaces are large enough for the chosen tools and no important shape disappears at the page edge. Follow it immediately with the verification statement: inspect the page from edge to edge for missed regions, smudges and outlines obscured by heavy material.
Test the checklist against the worked case - turning a simple flower drawing into a printable page by keeping the petal and stem contours, removing pencil shading and background texture, closing the main color regions, then printing one copy to confirm that the narrowest leaves are still comfortable to color. Rewrite any item that still needs the full article to explain what object to inspect or when to stop.
- Open with: choose one clear main subject and crop away background clutter before tracing, because a coloring page needs a readable silhouette more than it needs every detail from the source image.
- Develop with: build the outer contour first with strong continuous lines, then add only the interior boundaries that create meaningful areas for the user to color.
- Discriminate with: remove shading, texture, smudges and unnecessary sketch marks so the page stays true black and white instead of turning gray areas into accidental instructions.
- Resolve with: adjust complexity for the audience by using larger closed shapes and fewer internal lines for younger colorists while allowing smaller repeated details for experienced adults.
- Close with: print the page at its intended size and color a small section yourself, checking that lines remain crisp, spaces are large enough for the chosen tools and no important shape disappears at the page edge.
Teaching, family and group use
When demonstrating How to Make a Coloring Page: Clean Line Art That Is Easy to Color, model one complete unit: one enclosed region, its boundary line and its relationship to foreground or background. Say which evidence matters, perform this action - choose one clear main subject and crop away background clutter before tracing, because a coloring page needs a readable silhouette more than it needs every detail from the source image - and stop after the result is recorded.
For shared use, organise participation this way: divide the scene by objects or layers, then agree on shared colors before adjacent areas are filled. Rotate responsibility after a small milestone so one person does not make and approve every decision.
If the step in “Teaching, family and group use” is still unclear, continue with How to Print and Use Coloring Pages. It approaches the same puzzle format from a different decision point before you need to reveal an answer.
If parents, teachers, artists, activity creators and anyone making printable coloring sheets for children or adults need help, ask what has been ruled out and which method comes next. Point back to remove shading, texture, smudges and unnecessary sketch marks so the page stays true black and white instead of turning gray areas into accidental instructions rather than revealing the solution.
At the end, ask which action changed the most information. Record one adjustment for the next coloring pages page and keep private performance notes off public leaderboards.
A focused 15-minute practice routine
Minutes 0-3 for How to Make a Coloring Page: Clean Line Art That Is Easy to Color: prepare one original or licensed reference image, a drawing or vector tool, a black-and-white working layer, the target paper size and one test print made before the page is shared. State the goal to turn an original drawing, photo reference or simple concept into clean black-and-white line art with readable boundaries, useful spaces to color and a level of detail that matches the intended audience, then identify the first one enclosed region, its boundary line and its relationship to foreground or background you will inspect.
Minutes 3-7 for how to make a coloring page: complete choose one clear main subject and crop away background clutter before tracing, because a coloring page needs a readable silhouette more than it needs every detail from the source image, followed by build the outer contour first with strong continuous lines, then add only the interior boundaries that create meaningful areas for the user to color. Record both outcomes using this rule: test a palette on scrap paper and build coverage in light layers so outlines remain visible.
Minutes 7-12: complete this action on the least certain result: remove shading, texture, smudges and unnecessary sketch marks so the page stays true black and white instead of turning gray areas into accidental instructions. If the evidence supports a next move, continue with adjust complexity for the audience by using larger closed shapes and fewer internal lines for younger colorists while allowing smaller repeated details for experienced adults; otherwise keep the uncertainty visible.
Minutes 12-15: complete print the page at its intended size and color a small section yourself, checking that lines remain crisp, spaces are large enough for the chosen tools and no important shape disappears at the page edge. End the coloring pages practice by checking that inspect the page from edge to edge for missed regions, smudges and outlines obscured by heavy material, even when the full page remains unfinished.
Print, screen and accessibility choices
To print How to Make a Coloring Page: Clean Line Art That Is Easy to Color, follow this format rule: place a protective sheet underneath and match pencils, crayons or markers to the paper weight. Test one page at actual size and inspect the working area before producing a batch.
To use how to make a coloring page online, follow this screen rule: use the downloadable line art as the master and save a separate palette plan rather than altering it. Verify keyboard, touch and mouse behaviour at the zoom level the player needs.
Accessibility support for parents, teachers, artists, activity creators and anyone making printable coloring sheets for children or adults should preserve the evidence - the printed outlines, enclosed regions, foreground and background boundaries and the chosen material's coverage - while changing size, contrast, input method or session length. Support access without silently supplying the answer.
How to know the method is working
For How to Make a Coloring Page: Clean Line Art That Is Easy to Color, use this progress measure: count completed scene areas and clean edges, not how quickly the page becomes saturated. Improvement should appear as smaller corrections and explanations that refer to the printed outlines, enclosed regions, foreground and background boundaries and the chosen material's coverage.
Repeat a nearby how to make a coloring page activity within two days. Without reopening the guide, look for independent use of these actions: choose one clear main subject and crop away background clutter before tracing, because a coloring page needs a readable silhouette more than it needs every detail from the source image; and remove shading, texture, smudges and unnecessary sketch marks so the page stays true black and white instead of turning gray areas into accidental instructions.
Keep a short private note containing the page, difficulty, first error and verification result. Use it to select the next activity; do not turn it into a judgement about parents, teachers, artists, activity creators and anyone making printable coloring sheets for children or adults.
Test the skill on a fresh puzzle
Open one linked coloring pages page and write down two actions before starting: choose one clear main subject and crop away background clutter before tracing, because a coloring page needs a readable silhouette more than it needs every detail from the source image, followed by build the outer contour first with strong continuous lines, then add only the interior boundaries that create meaningful areas for the user to color. Put How to Make a Coloring Page: Clean Line Art That Is Easy to Color aside during the attempt.
At the first uncertain point, use this method without prompting: remove shading, texture, smudges and unnecessary sketch marks so the page stays true black and white instead of turning gray areas into accidental instructions. Compare one confirmed result with one unresolved result and name the evidence separating them.
Complete the fresh attempt by doing this: print the page at its intended size and color a small section yourself, checking that lines remain crisp, spaces are large enough for the chosen tools and no important shape disappears at the page edge. Run the same final check - inspect the page from edge to edge for missed regions, smudges and outlines obscured by heavy material - and record one specific adjustment for the next page.
Frequently asked questions
What should I do first in How to Make a Coloring Page: Clean Line Art That Is Easy to Color?
Begin with the catalogued opening action for how to make a coloring page: choose one clear main subject and crop away background clutter before tracing, because a coloring page needs a readable silhouette more than it needs every detail from the source image. Apply it to one enclosed region, its boundary line and its relationship to foreground or background and record the result before moving to build the outer contour first with strong continuous lines, then add only the interior boundaries that create meaningful areas for the user to color.
How can I tell whether my how to make a coloring page method is producing real progress?
For this coloring pages task, use the progress test 'count completed scene areas and clean edges, not how quickly the page becomes saturated'. A new mark counts only when it can be connected to the printed outlines, enclosed regions, foreground and background boundaries and the chosen material's coverage.
What should I do if I notice tracing every visible detail from a photograph until the page becomes a dense web of lines?
Stop at the first affected unit and use the format-specific recovery: stop before the wet or heavy area spreads, blot or let it dry, then test the material on scrap paper before repairing the affected region. Resume How to Make a Coloring Page: Clean Line Art That Is Easy to Color with remove shading, texture, smudges and unnecessary sketch marks so the page stays true black and white instead of turning gray areas into accidental instructions instead of repeating the unsupported move.
When is it appropriate to check the answer for How to Make a Coloring Page: Clean Line Art That Is Easy to Color?
Check after completing this final action: print the page at its intended size and color a small section yourself, checking that lines remain crisp, spaces are large enough for the chosen tools and no important shape disappears at the page edge. Before opening the answer, write the exact unresolved point and test whether inspect the page from edge to edge for missed regions, smudges and outlines obscured by heavy material.
How can I make this coloring pages practice more accessible?
Change size, spacing, session length or input method while preserving the printed outlines, enclosed regions, foreground and background boundaries and the chosen material's coverage. On paper, place a protective sheet underneath and match pencils, crayons or markers to the paper weight. On screen, use the downloadable line art as the master and save a separate palette plan rather than altering it.
What should I practise after How to Make a Coloring Page: Clean Line Art That Is Easy to Color?
Choose a nearby how to make a coloring page page and repeat two actions without reopening the article: choose one clear main subject and crop away background clutter before tracing, because a coloring page needs a readable silhouette more than it needs every detail from the source image; then remove shading, texture, smudges and unnecessary sketch marks so the page stays true black and white instead of turning gray areas into accidental instructions. Finish by checking that inspect the page from edge to edge for missed regions, smudges and outlines obscured by heavy material.