Use this guide as a working method, not a list of tricks. Read one section, apply it to a real activity, and keep the evidence that shows why each move works.
The short answer
Download the original coloring-page PDF, open it in a PDF viewer and print one proof at actual size. Choose paper for the coloring medium, not only for the printer. Crayons and colored pencils tolerate ordinary uncoated stock; wet markers need heavier paper and a protective sheet.
Inspect the proof before making copies. The outer border must fit, thin details must remain open and large black areas must not smear. If the design is too intricate at actual size, choose a simpler page rather than shrinking it further.
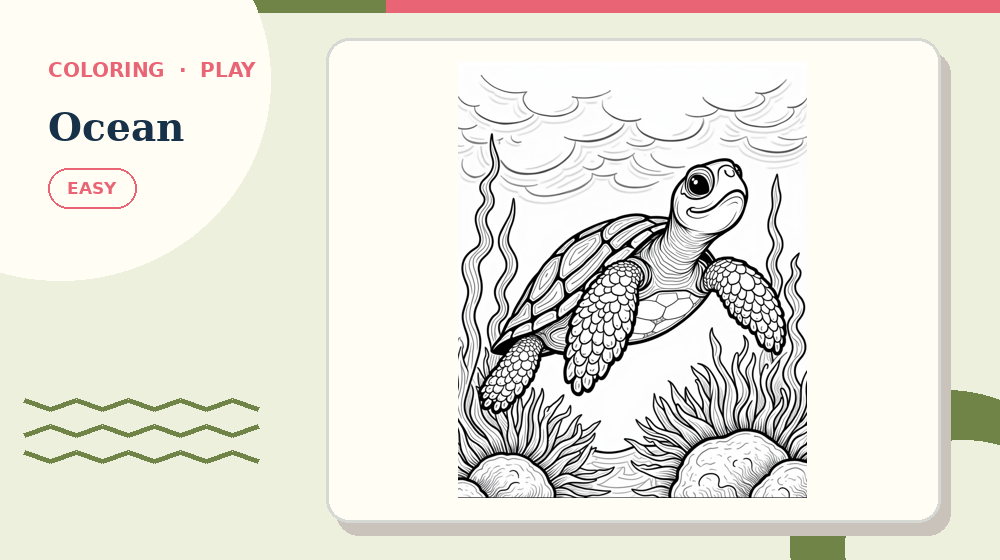
Before continuing, open Ocean Friends and practise this first move: print the PDF at actual size. The complete activity makes the setup advice above easier to judge than an isolated example.
Test the chosen tools on spare paper from the same pack. Check pressure, blending, show-through and drying time. Keep the test swatches beside the page so color decisions happen before a large area is filled.
Understand the exact job of this activity
In How to Print and Use Coloring Pages, success means you can produce clean line art that suits the chosen pencil, crayon or marker. The relevant evidence is the printed outlines, enclosed regions, foreground and background boundaries and the chosen material's coverage. Decoration, familiarity with the theme and confidence are not evidence by themselves.
Use one enclosed region, its boundary line and its relationship to foreground or background to keep the decision local. Start by doing this: print the PDF at actual size. If you cannot name what changed, do not add another permanent answer or mark.
Measure progress by this standard: count completed scene areas and clean edges, not how quickly the page becomes saturated. When progress stops, return to this method: test markers on the separate planning sheet. State the reason for changing approach before you make the next move.
Prepare the materials and the decision record
For How to Print and Use Coloring Pages, lay out the original PDF, suitable paper and a protected flat coloring surface. Keep any answer material closed or out of reach until the attempt has a complete result or a precisely stated question.
On paper, place a protective sheet underneath and match pencils, crayons or markers to the paper weight. On screen, use the downloadable line art as the master and save a separate palette plan rather than altering it. Check the real input method before starting so a print, zoom or touch problem is not mistaken for puzzle difficulty.
Record uncertain work this way: test a palette on scrap paper and build coverage in light layers so outlines remain visible. If children, adults, families and activity coordinators pause and return later, the record should show what is confirmed, what is provisional and what was rejected.
- Goal: produce clean line art that suits the chosen pencil, crayon or marker.
- First action: print the PDF at actual size.
- Working unit: one enclosed region, its boundary line and its relationship to foreground or background.
- Final check: inspect the page from edge to edge for missed regions, smudges and outlines obscured by heavy material.
Print and color one page cleanly
Step 1 - Select the PDF, paper size and actual-size setting. Inspect the preview for clipped borders or unexpected rotation.
Step 2 - Print one proof and compare line clarity across the lightest details. Stop if neighbouring lines merge or the outer artwork enters the printer margin.
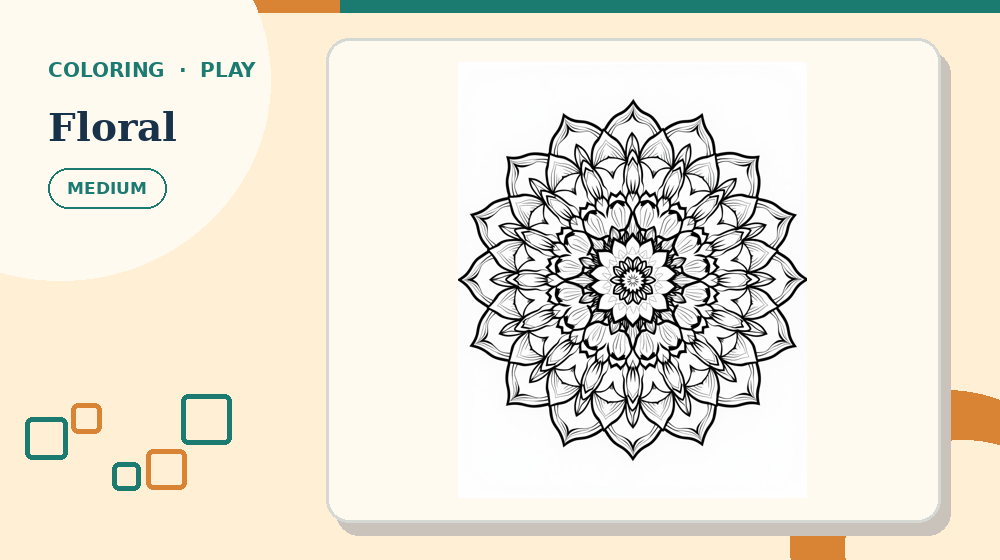
Use Floral Mandala for the next pass. Try to choose paper weight for the coloring medium without opening the answer material, then return here and name the evidence that supported the decision.
Step 3 - Test every marker family or pencil combination on matching scrap paper. Wait for wet swatches to dry before judging color and bleed.
Step 4 - Color broad background or large shapes with light pressure first. Work toward smaller foreground details so the hand rests on fewer freshly colored areas.
Step 5 - Leave intentional highlights or paper-white spaces, then let wet media dry flat. Store the finished page only after rubbing a clean scrap over the darkest area produces no transfer.
Worked example: an ocean scene with markers
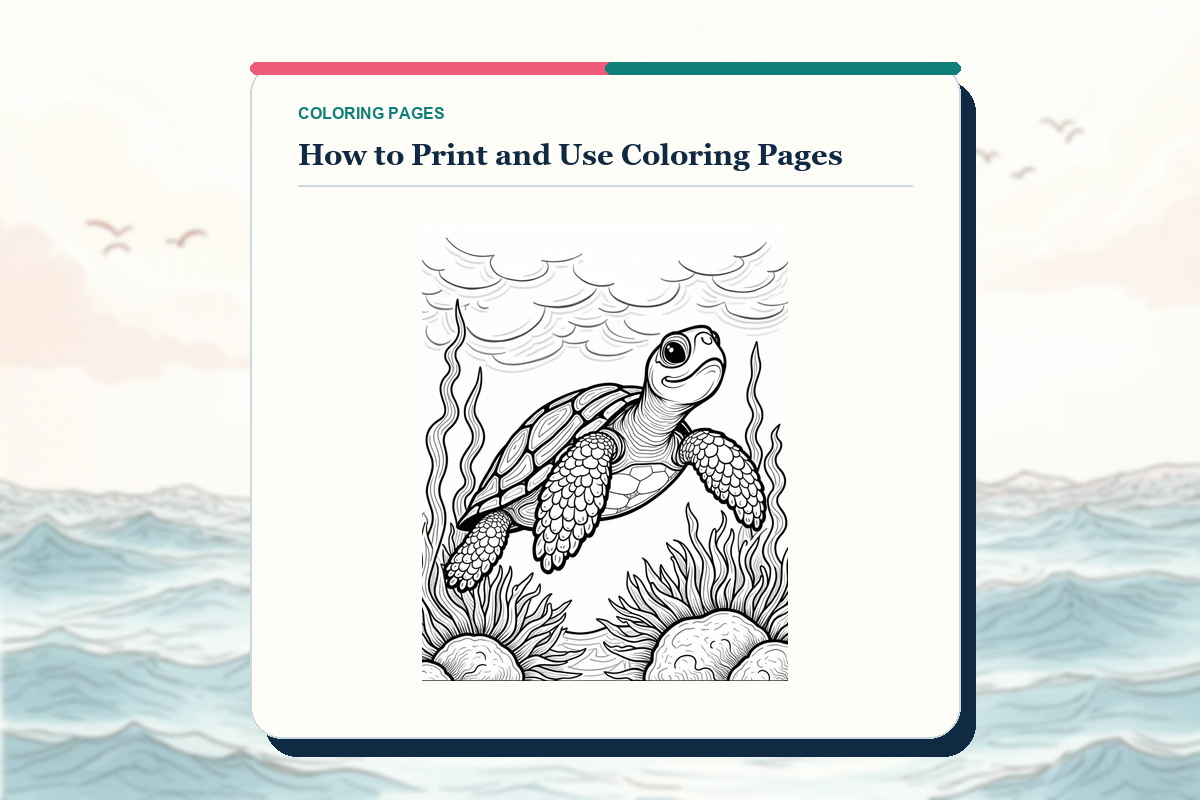
Print the ocean scene at actual size on heavier uncoated paper. Check that shell details remain open and that no coral branch touches the page edge. Keep the first copy as the proof.
On a cut-off strip from the same paper, test two blue markers and the planned blending overlap. If the darker blue feathers beyond the swatch line, switch to pencil for tiny shapes or use a less absorbent stock.
Color the broad water area in sections, then complete fish and shells after the background is dry. Place a barrier sheet underneath throughout. Finish by leaving small white highlights rather than filling every space.
Decision log for the worked example
For the How to Print and Use Coloring Pages example, log the first observation created by this action: print the PDF at actual size. Write the observation itself, not a vague note that the step was completed.
Next, record what changed after you test markers on the separate planning sheet. If nothing changed, keep that result; an explicit no-change result prevents the same unproductive pass from being repeated.
Close the log with the final check: inspect the page from edge to edge for missed regions, smudges and outlines obscured by heavy material. If the check fails, identify the earliest unsupported decision and connect it to one risk: printing a low-resolution screenshot.
Diagnostic questions for How to Print and Use Coloring Pages
Can you explain why print the PDF at actual size is the correct opening for how to print coloring pages? If not, restate the goal - produce clean line art that suits the chosen pencil, crayon or marker - before making another mark.
Does the current record follow this rule: test a palette on scrap paper and build coverage in light layers so outlines remain visible? If not, separate confirmed work from possibilities before the next method.
Which evidence supports the current decision: the printed outlines, enclosed regions, foreground and background boundaries and the chosen material's coverage? Remove any answer supported only by familiarity or appearance.
Have you checked for this specific failure: using thin paper with wet markers? Repair that issue locally instead of restarting unrelated work.
Can the final result pass this test: inspect the page from edge to edge for missed regions, smudges and outlines obscured by heavy material? If not, leave the activity marked as unfinished and record the exact failing unit.
Adjust difficulty without changing the core skill
For an easier coloring pages activity, reduce region size, line density, subject complexity, material control, page size and the amount of background detail while preserving the goal to produce clean line art that suits the chosen pencil, crayon or marker. Keep the same opening method: print the PDF at actual size.
For a harder how to print coloring pages task, add one source of complexity at a time. Continue to require this evidence: the printed outlines, enclosed regions, foreground and background boundaries and the chosen material's coverage. More decoration, smaller print or longer instructions do not create useful difficulty.
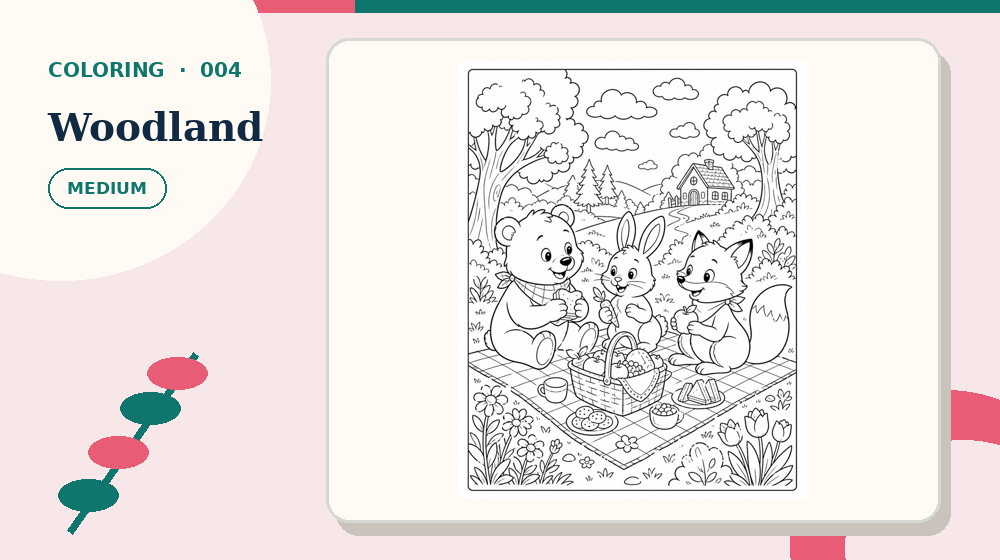
Now compare the method on Woodland Friends Picnic. Keep the goal—produce clean line art that suits the chosen pencil, crayon or marker—but change only the difficulty or theme, so the comparison shows whether the routine transfers.
For children, adults, families and activity coordinators, adjust the amount of material, available time or input method before removing the reasoning step. Assistance should make the evidence reachable without supplying the result.
Common mistakes and precise recovery actions
Watch for this first failure in How to Print and Use Coloring Pages: printing a low-resolution screenshot. Stop, restore one enclosed region, its boundary line and its relationship to foreground or background and repeat this action: print the PDF at actual size.
A second risk is using thin paper with wet markers. Compare the current work with the printed outlines, enclosed regions, foreground and background boundaries and the chosen material's coverage; keep only decisions that the evidence supports.
If you notice shrinking detailed art too far, return to this method: test markers on the separate planning sheet. Record the corrected result before touching any later answer.
When coloring large areas before testing the palette occurs, use this recovery procedure: stop before the wet or heavy area spreads, blot or let it dry, then test the material on scrap paper before repairing the affected region. Continue only when the progress measure changes for a stated reason.
Prevent the final failure - stacking finished marker pages before they dry - by completing this action: leave selected paper areas white for highlights. Then run the verification for how to print coloring pages: inspect the page from edge to edge for missed regions, smudges and outlines obscured by heavy material.
Build a checklist for How to Print and Use Coloring Pages
Write the How to Print and Use Coloring Pages goal first: produce clean line art that suits the chosen pencil, crayon or marker. Under it, copy this opening action: print the PDF at actual size. Leave space for the result, not merely a tick box.
Add the second and third checks in order: choose paper weight for the coloring medium; then test markers on the separate planning sheet. Beside both, print the record rule: test a palette on scrap paper and build coverage in light layers so outlines remain visible.
Reserve a separate line for the hard-area pass: start with broad areas before fine details. Name the exact unit inspected so a later correction does not erase unrelated progress.
End the checklist with this action: leave selected paper areas white for highlights. Follow it immediately with the verification statement: inspect the page from edge to edge for missed regions, smudges and outlines obscured by heavy material.
Test the checklist against the worked case - printing an ocean scene on heavier paper, testing one marker on the planner and then coloring background water before tiny shells. Rewrite any item that still needs the full article to explain what object to inspect or when to stop.
- Open with: print the PDF at actual size.
- Develop with: choose paper weight for the coloring medium.
- Discriminate with: test markers on the separate planning sheet.
- Resolve with: start with broad areas before fine details.
- Close with: leave selected paper areas white for highlights.
Teaching, family and group use
When demonstrating How to Print and Use Coloring Pages, model one complete unit: one enclosed region, its boundary line and its relationship to foreground or background. Say which evidence matters, perform this action - print the PDF at actual size - and stop after the result is recorded.
For shared use, organise participation this way: divide the scene by objects or layers, then agree on shared colors before adjacent areas are filled. Rotate responsibility after a small milestone so one person does not make and approve every decision.
If the step in “Teaching, family and group use” is still unclear, continue with How to Make a Coloring Page: Clean Line Art That Is Easy to Color. It approaches the same puzzle format from a different decision point before you need to reveal an answer.
If children, adults, families and activity coordinators need help, ask what has been ruled out and which method comes next. Point back to test markers on the separate planning sheet rather than revealing the solution.
At the end, ask which action changed the most information. Record one adjustment for the next coloring pages page and keep private performance notes off public leaderboards.
A focused 15-minute practice routine
Minutes 0-3 for How to Print and Use Coloring Pages: prepare the original PDF, suitable paper and a protected flat coloring surface. State the goal to produce clean line art that suits the chosen pencil, crayon or marker, then identify the first one enclosed region, its boundary line and its relationship to foreground or background you will inspect.
Minutes 3-7 for how to print coloring pages: complete print the PDF at actual size, followed by choose paper weight for the coloring medium. Record both outcomes using this rule: test a palette on scrap paper and build coverage in light layers so outlines remain visible.
Minutes 7-12: complete this action on the least certain result: test markers on the separate planning sheet. If the evidence supports a next move, continue with start with broad areas before fine details; otherwise keep the uncertainty visible.
Minutes 12-15: complete leave selected paper areas white for highlights. End the coloring pages practice by checking that inspect the page from edge to edge for missed regions, smudges and outlines obscured by heavy material, even when the full page remains unfinished.
Print settings and accessible alternatives
On US Letter paper, verify that the PDF viewer is not silently substituting A4 scaling; on A4, inspect top and bottom margins before using fit. Record the successful percentage for a batch.
If printing from a phone, download the PDF first and open the print preview rather than sharing a screenshot to the printer. Check page range, paper size, color mode and scale.
For low vision or limited hand control, choose stronger outlines, broader spaces and a stable surface. Enlarging a compatible page or using a tablet with zoom preserves creative choice better than guiding the person's hand.
Judge the physical result
A good proof has unbroken outlines, readable small details, complete margins and no unexplained gray background. The page stays flat enough to color without catching the tool.
The chosen medium should remain inside intended areas at comfortable pressure. Some expressive overlap is a creative choice; feathering caused by unsuitable paper is a material problem.
After the session, note paper, printer scale and medium. Reuse the combination that worked, and change only one factor when troubleshooting the next page.
Test the skill on a fresh puzzle
Open one linked coloring pages page and write down two actions before starting: print the PDF at actual size, followed by choose paper weight for the coloring medium. Put How to Print and Use Coloring Pages aside during the attempt.
At the first uncertain point, use this method without prompting: test markers on the separate planning sheet. Compare one confirmed result with one unresolved result and name the evidence separating them.
Complete the fresh attempt by doing this: leave selected paper areas white for highlights. Run the same final check - inspect the page from edge to edge for missed regions, smudges and outlines obscured by heavy material - and record one specific adjustment for the next page.
Frequently asked questions
What should I do first in How to Print and Use Coloring Pages?
Begin with the catalogued opening action for how to print coloring pages: print the PDF at actual size. Apply it to one enclosed region, its boundary line and its relationship to foreground or background and record the result before moving to choose paper weight for the coloring medium.
How can I tell whether my how to print coloring pages method is producing real progress?
For this coloring pages task, use the progress test 'count completed scene areas and clean edges, not how quickly the page becomes saturated'. A new mark counts only when it can be connected to the printed outlines, enclosed regions, foreground and background boundaries and the chosen material's coverage.
What should I do if I notice printing a low-resolution screenshot?
Stop at the first affected unit and use the format-specific recovery: stop before the wet or heavy area spreads, blot or let it dry, then test the material on scrap paper before repairing the affected region. Resume How to Print and Use Coloring Pages with test markers on the separate planning sheet instead of repeating the unsupported move.
When is it appropriate to check the answer for How to Print and Use Coloring Pages?
Check after completing this final action: leave selected paper areas white for highlights. Before opening the answer, write the exact unresolved point and test whether inspect the page from edge to edge for missed regions, smudges and outlines obscured by heavy material.
How can I make this coloring pages practice more accessible?
Change size, spacing, session length or input method while preserving the printed outlines, enclosed regions, foreground and background boundaries and the chosen material's coverage. On paper, place a protective sheet underneath and match pencils, crayons or markers to the paper weight. On screen, use the downloadable line art as the master and save a separate palette plan rather than altering it.
What should I practise after How to Print and Use Coloring Pages?
Choose a nearby how to print coloring pages page and repeat two actions without reopening the article: print the PDF at actual size; then test markers on the separate planning sheet. Finish by checking that inspect the page from edge to edge for missed regions, smudges and outlines obscured by heavy material.