Use this guide as a working method, not a list of tricks. Read one section, apply it to a real activity, and keep the evidence that shows why each move works.
The short answer
Teach a child to pause before drawing. First find the entrance and destination, then preview the first passage with a finger. At every fork, stop, name the branches and choose one. If it closes, return to the fork and mark that branch as tested. This is planning and recovery, not failure.
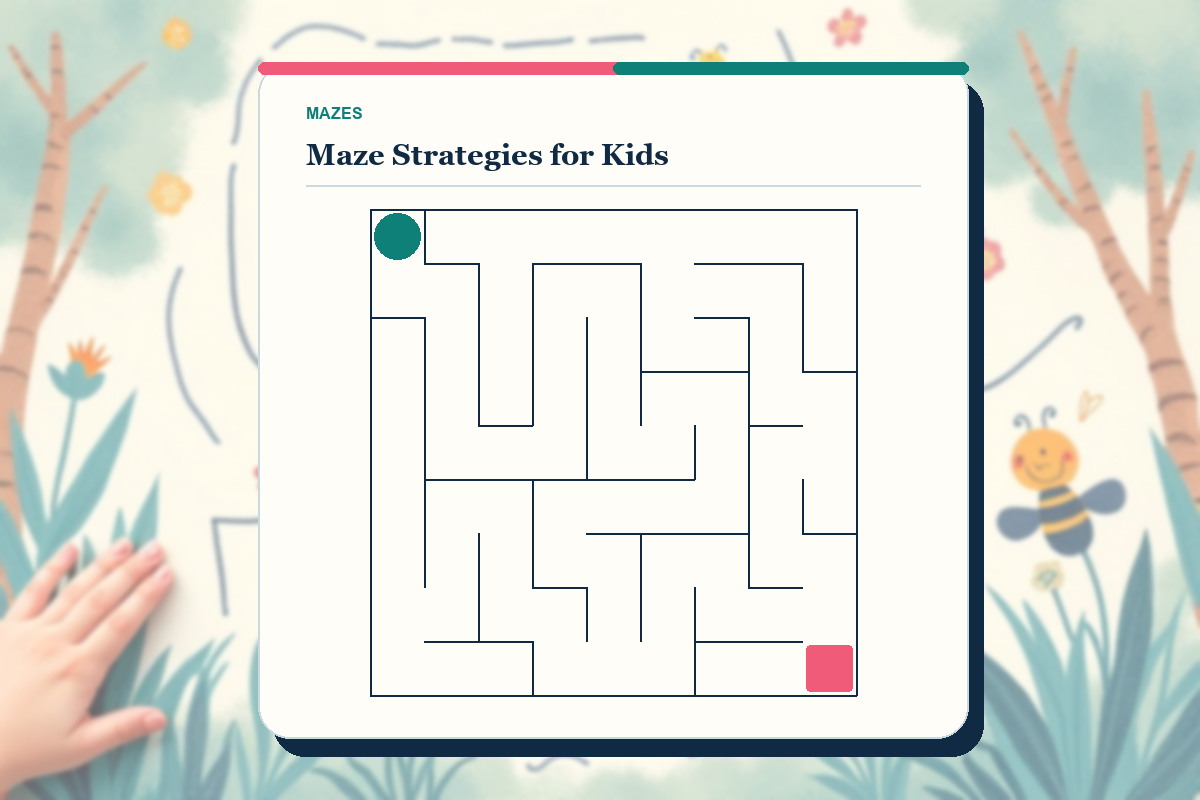
Choose a maze whose passages are wider than the child's pencil line and whose endpoints are obvious. A dense page that demands fine motor control can hide whether the child understands junctions.
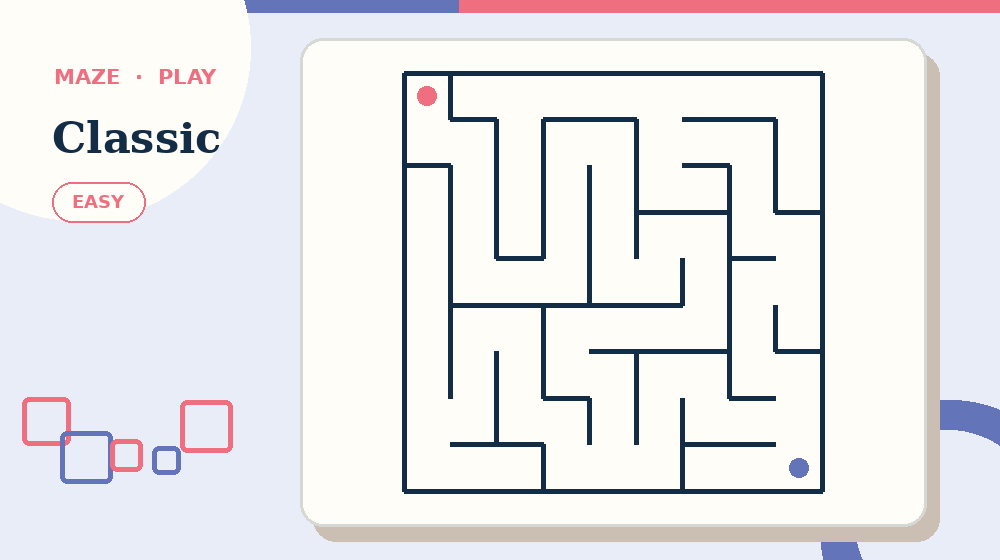
Before continuing, open Easy Maze and practise this first move: find start and finish before touching the path. The complete activity makes the setup advice above easier to judge than an isolated example.
Keep adult help procedural. Ask where the last choice happened or which branch has already been tested; do not point at the correct corridor. End after the child can explain one successful recovery in their own words.
Understand the exact job of this activity
In Maze Strategies for Kids, success means you can build planning and recovery skills while keeping the activity playful. The relevant evidence is open passages, closed walls, junctions already tested and a continuous route from the entrance toward the goal. Decoration, familiarity with the theme and confidence are not evidence by themselves.
Use one junction, the branches leaving it and the last confirmed open passage to keep the decision local. Start by doing this: find start and finish before touching the path. If you cannot name what changed, do not add another permanent answer or mark.
Measure progress by this standard: count resolved junctions and eliminated dead ends, not distance from the finish in a straight line. When progress stops, return to this method: stop at each fork and name the choices. State the reason for changing approach before you make the next move.
Prepare the materials and the decision record
For Maze Strategies for Kids, lay out a maze with broad paths, obvious endpoints and a pencil line that can be erased. Keep any answer material closed or out of reach until the attempt has a complete result or a precisely stated question.
On paper, preview with a finger, then trace with a pencil fine enough to leave every wall visible. On screen, move one cell or junction at a time and use undo instead of jumping across passages. Check the real input method before starting so a print, zoom or touch problem is not mistaken for puzzle difficulty.
Record uncertain work this way: mark a tested dead end lightly and keep the successful route thinner than the maze walls. If young solvers, parents and primary teachers pause and return later, the record should show what is confirmed, what is provisional and what was rejected.
- Goal: build planning and recovery skills while keeping the activity playful.
- First action: find start and finish before touching the path.
- Working unit: one junction, the branches leaving it and the last confirmed open passage.
- Final check: trace the chosen route continuously from start to finish and stop at every turn to confirm no wall is crossed.
Coach one maze without taking over
Step 1 - Ask the child to touch the entrance and destination. Rotate the page only for physical comfort; do not imply that the top is always the goal.
Step 2 - Preview from the entrance to the first fork with one finger. Ask where a choice appears and wait for the child to identify the junction.
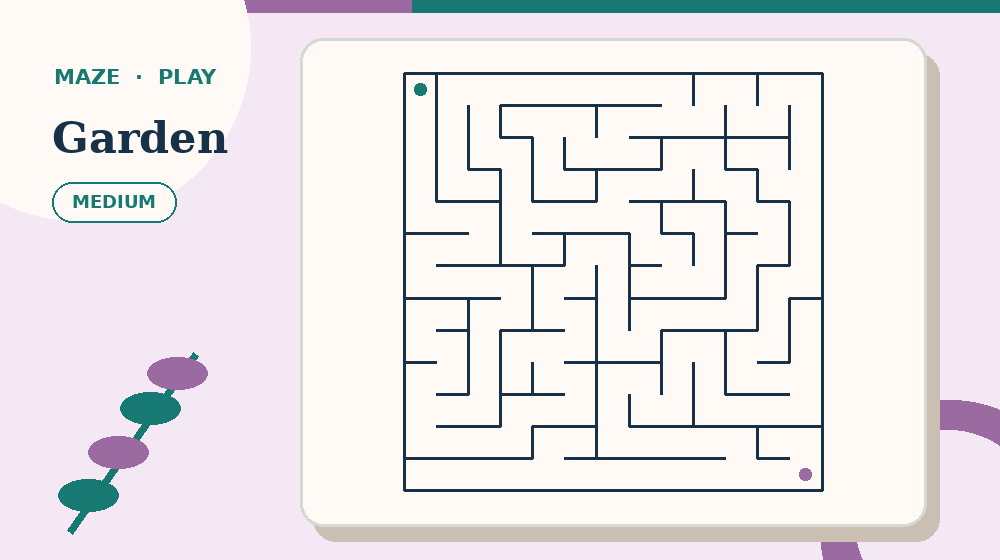
Use Garden Maze for the next pass. Try to use a finger preview before drawing without opening the answer material, then return here and name the evidence that supported the decision.
Step 3 - Let the child name or point to the branches, then select one. Look ahead only to the next junction or closure so the whole page does not become visually overwhelming.
Step 4 - When a corridor closes, say what the page shows: this path ends. Invite the child to trace back to the previous fork and add a tiny test mark.
Step 5 - After reaching the destination, retrace the route in one clean pass. Ask the child to point out one dead end that helped.
Worked example: guide the dinosaur home
Use a broad-path dinosaur maze with a dinosaur at the lower-left entrance and a nest at the upper-right destination. Ask the child to show both endpoints, then finger-trace only as far as the first three-way fork.
Suppose the middle branch closes after two turns. Name the event neutrally: the corridor ends. Return to the three-way fork, put a dot beside the middle branch and choose between the two branches still open.
When the nest is reached, follow the successful route again without rushing. Ask which dot prevented the same corridor from being tried twice. The explanation shows strategy more clearly than completion time.
Decision log for the worked example
For the Maze Strategies for Kids example, log the first observation created by this action: find start and finish before touching the path. Write the observation itself, not a vague note that the step was completed.
Next, record what changed after you stop at each fork and name the choices. If nothing changed, keep that result; an explicit no-change result prevents the same unproductive pass from being repeated.
Close the log with the final check: trace the chosen route continuously from start to finish and stop at every turn to confirm no wall is crossed. If the check fails, identify the earliest unsupported decision and connect it to one risk: starting in the middle.
Diagnostic questions for Maze Strategies for Kids
Can you explain why find start and finish before touching the path is the correct opening for maze strategies for kids? If not, restate the goal - build planning and recovery skills while keeping the activity playful - before making another mark.
Does the current record follow this rule: mark a tested dead end lightly and keep the successful route thinner than the maze walls? If not, separate confirmed work from possibilities before the next method.
Which evidence supports the current decision: open passages, closed walls, junctions already tested and a continuous route from the entrance toward the goal? Remove any answer supported only by familiarity or appearance.
Have you checked for this specific failure: drawing too quickly across walls? Repair that issue locally instead of restarting unrelated work.
Can the final result pass this test: trace the chosen route continuously from start to finish and stop at every turn to confirm no wall is crossed? If not, leave the activity marked as unfinished and record the exact failing unit.
Adjust difficulty without changing the core skill
For an easier mazes activity, reduce maze dimensions, branch count, dead-end depth, route length, line weight and the visibility of start and finish while preserving the goal to build planning and recovery skills while keeping the activity playful. Keep the same opening method: find start and finish before touching the path.
For a harder maze strategies for kids task, add one source of complexity at a time. Continue to require this evidence: open passages, closed walls, junctions already tested and a continuous route from the entrance toward the goal. More decoration, smaller print or longer instructions do not create useful difficulty.
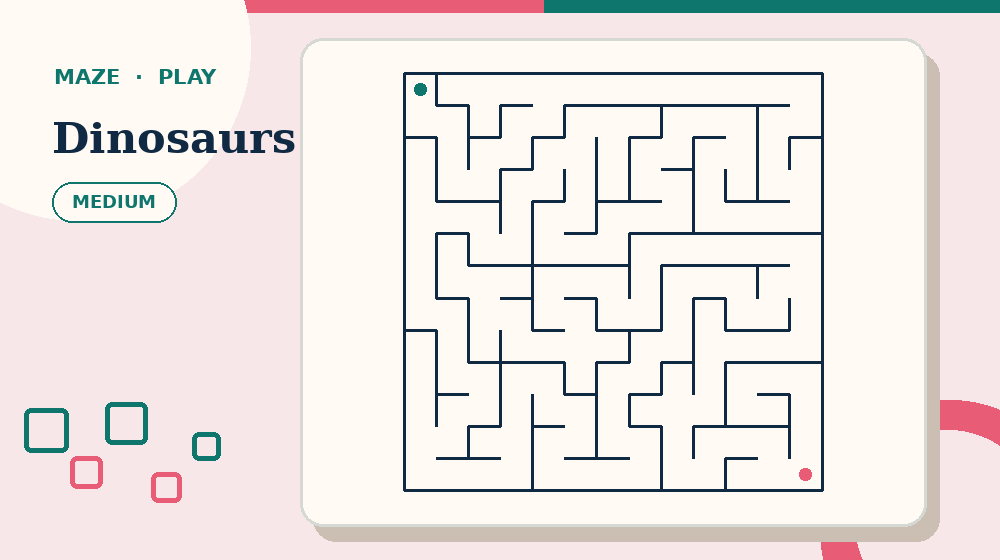
Now compare the method on Dinosaur Maze. Keep the goal—build planning and recovery skills while keeping the activity playful—but change only the difficulty or theme, so the comparison shows whether the routine transfers.
For young solvers, parents and primary teachers, adjust the amount of material, available time or input method before removing the reasoning step. Assistance should make the evidence reachable without supplying the result.
Common mistakes and precise recovery actions
Watch for this first failure in Maze Strategies for Kids: starting in the middle. Stop, restore one junction, the branches leaving it and the last confirmed open passage and repeat this action: find start and finish before touching the path.
A second risk is drawing too quickly across walls. Compare the current work with open passages, closed walls, junctions already tested and a continuous route from the entrance toward the goal; keep only decisions that the evidence supports.
If you notice taking over when the child pauses, return to this method: stop at each fork and name the choices. Record the corrected result before touching any later answer.
When calling a wrong branch a failure occurs, use this recovery procedure: erase the route back to the last confirmed junction, mark the failed branch and choose only among the branches not yet tested. Continue only when the progress measure changes for a stated reason.
Prevent the final failure - choosing a maze with too many tiny passages - by completing this action: retrace the final route in one clean pass. Then run the verification for maze strategies for kids: trace the chosen route continuously from start to finish and stop at every turn to confirm no wall is crossed.
Build a checklist for Maze Strategies for Kids
Write the Maze Strategies for Kids goal first: build planning and recovery skills while keeping the activity playful. Under it, copy this opening action: find start and finish before touching the path. Leave space for the result, not merely a tick box.
Add the second and third checks in order: use a finger preview before drawing; then stop at each fork and name the choices. Beside both, print the record rule: mark a tested dead end lightly and keep the successful route thinner than the maze walls.
Reserve a separate line for the hard-area pass: put a tiny mark beside a tested dead end. Name the exact unit inspected so a later correction does not erase unrelated progress.
End the checklist with this action: retrace the final route in one clean pass. Follow it immediately with the verification statement: trace the chosen route continuously from start to finish and stop at every turn to confirm no wall is crossed.
Test the checklist against the worked case - helping a child guide a dinosaur to its nest by pausing at each fork and explaining why one path closes. Rewrite any item that still needs the full article to explain what object to inspect or when to stop.
- Open with: find start and finish before touching the path.
- Develop with: use a finger preview before drawing.
- Discriminate with: stop at each fork and name the choices.
- Resolve with: put a tiny mark beside a tested dead end.
- Close with: retrace the final route in one clean pass.
Use calm prompts at home or in a small group
At home, sit beside rather than opposite the child so both people see the same route orientation. Ask one question at a time: where is the next fork, which branch was tested, or what does this wall block?
With siblings or a small group, give one child the pointer and another the branch markers. Rotate at each destination. The observer may ask a question but may not announce the route.
If the step in “Use calm prompts at home or in a small group” is still unclear, continue with How to Solve a Maze Without Guessing. It approaches the same puzzle format from a different decision point before you need to reveal an answer.
Keep a simple note after the session: maze size, whether endpoints were found independently, and whether the child returned without adult pointing. Use those observations to choose the next page without making a public score.
A focused 15-minute practice routine
Minutes 0-3 for Maze Strategies for Kids: prepare a maze with broad paths, obvious endpoints and a pencil line that can be erased. State the goal to build planning and recovery skills while keeping the activity playful, then identify the first one junction, the branches leaving it and the last confirmed open passage you will inspect.
Minutes 3-7 for maze strategies for kids: complete find start and finish before touching the path, followed by use a finger preview before drawing. Record both outcomes using this rule: mark a tested dead end lightly and keep the successful route thinner than the maze walls.
Minutes 7-12: complete this action on the least certain result: stop at each fork and name the choices. If the evidence supports a next move, continue with put a tiny mark beside a tested dead end; otherwise keep the uncertainty visible.
Minutes 12-15: complete retrace the final route in one clean pass. End the mazes practice by checking that trace the chosen route continuously from start to finish and stop at every turn to confirm no wall is crossed, even when the full page remains unfinished.
Print, screen and accessibility choices
To print Maze Strategies for Kids, follow this format rule: preview with a finger, then trace with a pencil fine enough to leave every wall visible. Test one page at actual size and inspect the working area before producing a batch.
To use maze strategies for kids online, follow this screen rule: move one cell or junction at a time and use undo instead of jumping across passages. Verify keyboard, touch and mouse behaviour at the zoom level the player needs.
Accessibility support for young solvers, parents and primary teachers should preserve the evidence - open passages, closed walls, junctions already tested and a continuous route from the entrance toward the goal - while changing size, contrast, input method or session length. Support access without silently supplying the answer.
Look for independent planning, not a faster finish
The method is taking hold when the child pauses at forks, keeps the line inside the walls and returns to a recorded junction after a closure. These behaviours matter even when the maze takes longer.
Offer a nearby maze one or two days later and watch silently through the first two junctions. If the child draws until trapped, return to finger preview on a shorter page rather than supplying the route.
Ask for one sentence at the end: a dead end helped because it ruled out a branch. If the child says only that dead ends are bad, model one more recovery.
Test the skill on a fresh puzzle
Open one linked mazes page and write down two actions before starting: find start and finish before touching the path, followed by use a finger preview before drawing. Put Maze Strategies for Kids aside during the attempt.
At the first uncertain point, use this method without prompting: stop at each fork and name the choices. Compare one confirmed result with one unresolved result and name the evidence separating them.
Complete the fresh attempt by doing this: retrace the final route in one clean pass. Run the same final check - trace the chosen route continuously from start to finish and stop at every turn to confirm no wall is crossed - and record one specific adjustment for the next page.
Frequently asked questions
What should I do first in Maze Strategies for Kids?
Begin with the catalogued opening action for maze strategies for kids: find start and finish before touching the path. Apply it to one junction, the branches leaving it and the last confirmed open passage and record the result before moving to use a finger preview before drawing.
How can I tell whether my maze strategies for kids method is producing real progress?
For this mazes task, use the progress test 'count resolved junctions and eliminated dead ends, not distance from the finish in a straight line'. A new mark counts only when it can be connected to open passages, closed walls, junctions already tested and a continuous route from the entrance toward the goal.
What should I do if I notice starting in the middle?
Stop at the first affected unit and use the format-specific recovery: erase the route back to the last confirmed junction, mark the failed branch and choose only among the branches not yet tested. Resume Maze Strategies for Kids with stop at each fork and name the choices instead of repeating the unsupported move.
When is it appropriate to check the answer for Maze Strategies for Kids?
Check after completing this final action: retrace the final route in one clean pass. Before opening the answer, write the exact unresolved point and test whether trace the chosen route continuously from start to finish and stop at every turn to confirm no wall is crossed.
How can I make this mazes practice more accessible?
Change size, spacing, session length or input method while preserving open passages, closed walls, junctions already tested and a continuous route from the entrance toward the goal. On paper, preview with a finger, then trace with a pencil fine enough to leave every wall visible. On screen, move one cell or junction at a time and use undo instead of jumping across passages.
What should I practise after Maze Strategies for Kids?
Choose a nearby maze strategies for kids page and repeat two actions without reopening the article: find start and finish before touching the path; then stop at each fork and name the choices. Finish by checking that trace the chosen route continuously from start to finish and stop at every turn to confirm no wall is crossed.